
How I Fixed My Hobie MirageDrive V2 Kayak Pedal Chain: A Survival Guide When the OEM Part Is Out of Stock. I did some research and found that the repair was simpler than I thought. I just needed three things.
My odyssey to fix a broken chain and the DIY solution that saved my day. This guide focuses on fixing hobie mirage drive v2 chain for optimal performance.

A Kayaker’s Nightmare: Broken Chain Mid-Trip
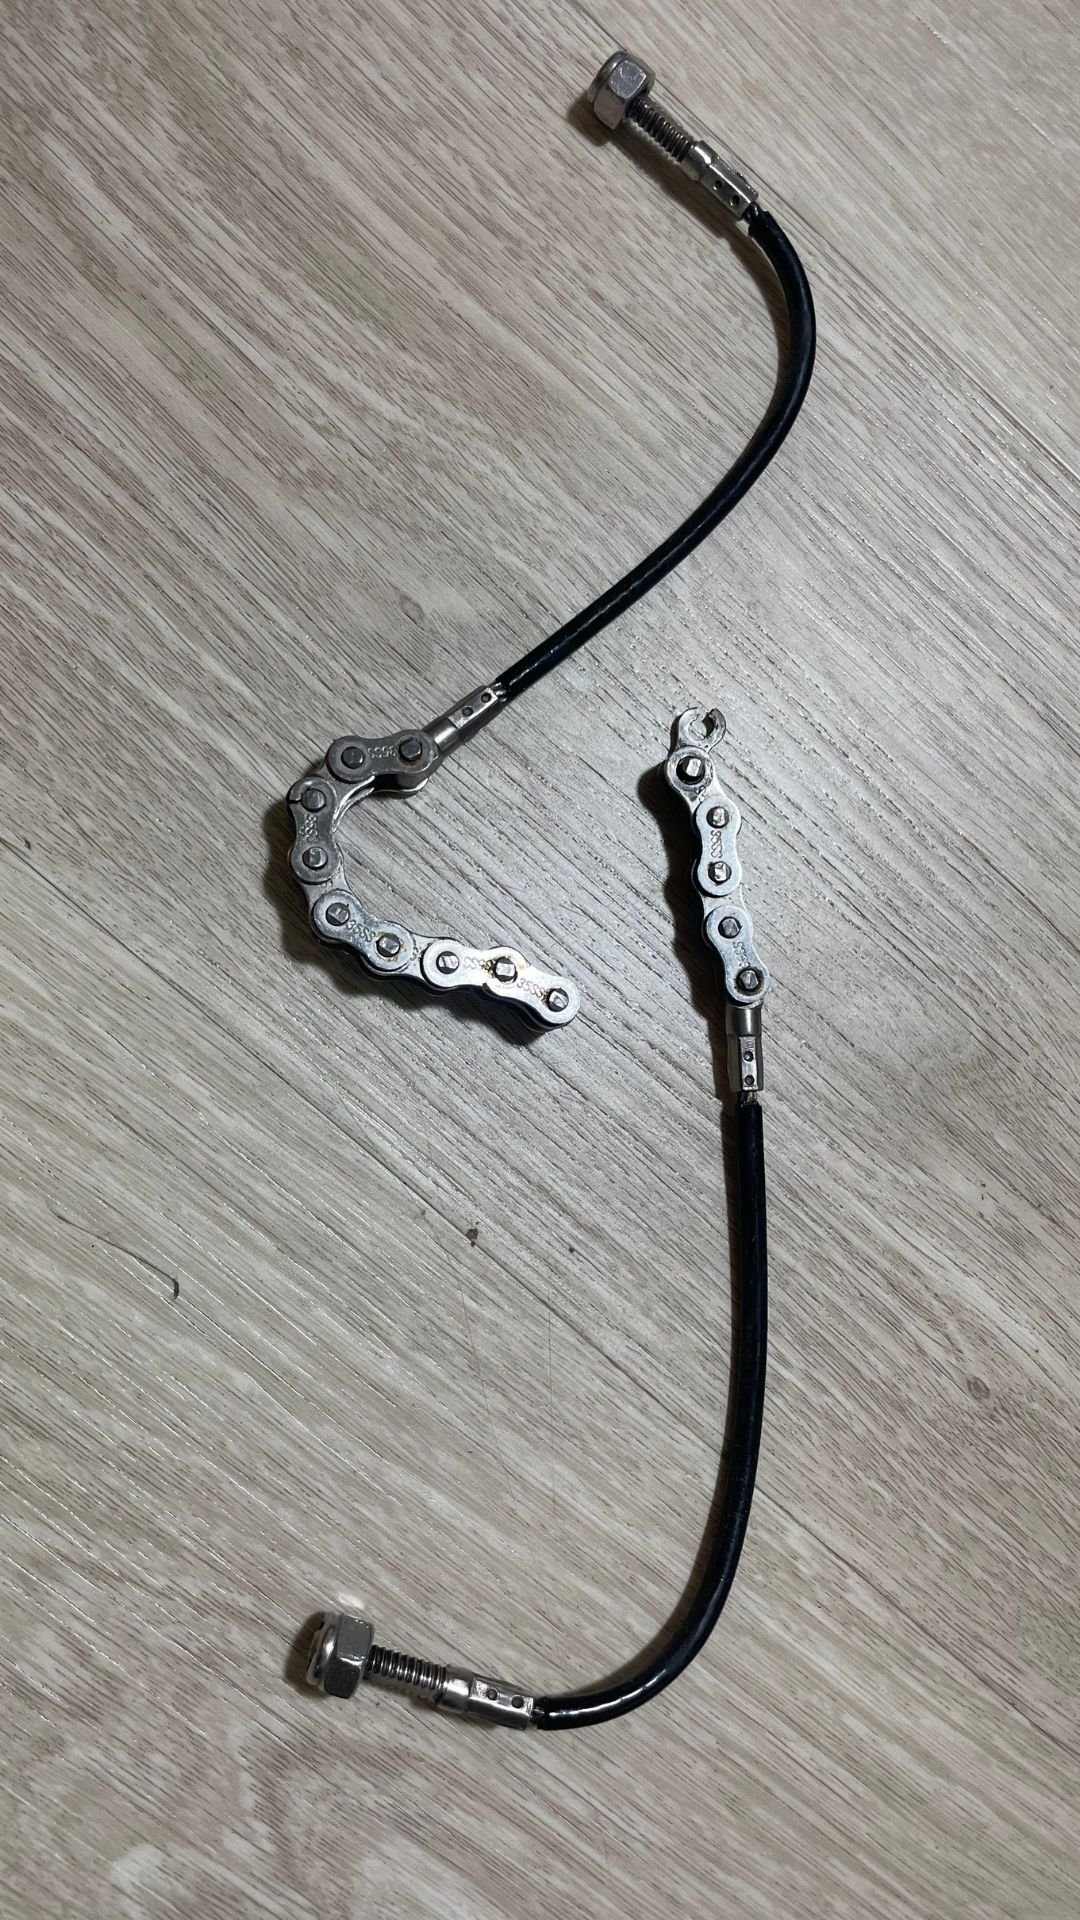
It was one of those perfect days on the water. The sun was shining, the wind was calm, and my Hobie kayak was gliding effortlessly, propelled by the trusty MirageDrive V2 system. I was on a long trip, exploring remote coves, when I suddenly heard a dry “click” followed by a total loss of propulsion on one of my pedals. The dreaded reality hit me: one of my MirageDrive V2 chains had broken.
The initial panic quickly turned into a plan of action. Fortunately, I was prepared with my emergency paddle, but the thought of having to paddle back for miles was exhausting just to think about.
For those facing similar challenges, understanding the process of fixing hobie mirage drive v2 chain can make all the difference.
When it comes to fixing hobie mirage drive v2 chain, having the right tools and knowledge is essential for a successful repair.
Once I was safely back on land, my second battle began: finding a replacement part.
Searching for a Ghost: The Disappearing OEM Repair Kit
My first instinct was to go to the specialized Hobie kayak stores. I assumed that finding the chain repair kit would be as easy as buying a bottle of water. How wrong I was!
At every store I visited, the answer was the same: “The original kit for the MirageDrive V2 is out of stock, and we have no arrival date.” My frustration grew. I decided to look for local alternatives, going to specialized suppliers of precision chains. I explained that I needed a precision chain number 35SS, where the “SS” stands for “Stainless Steel,” a crucial detail for marine applications.
The search was fruitless. The few who had something similar couldn’t guarantee it was suitable for the saltwater environment, or simply the exact reference wasn’t available.
The Failed Online Order and a Last Resort
With local stores exhausted, I turned to Amazon. I found a supplier offering the complete kit, ready to be imported. I placed the order, hoping my kayak would be back in action soon. But after 20 days with no news of the shipment, and with the delivery date missed, I had to request a refund. The supplier, who was importing from China, simply couldn’t fulfill the promise.
That’s when the idea struck me: if I can’t buy the complete kit, why not assemble it myself? If I have the right parts and the right tool, I can fix it.
The DIY Solution: The Puzzle Pieces and the Key Tool
I did some research and found that the repair was simpler than I thought. I just needed three things:
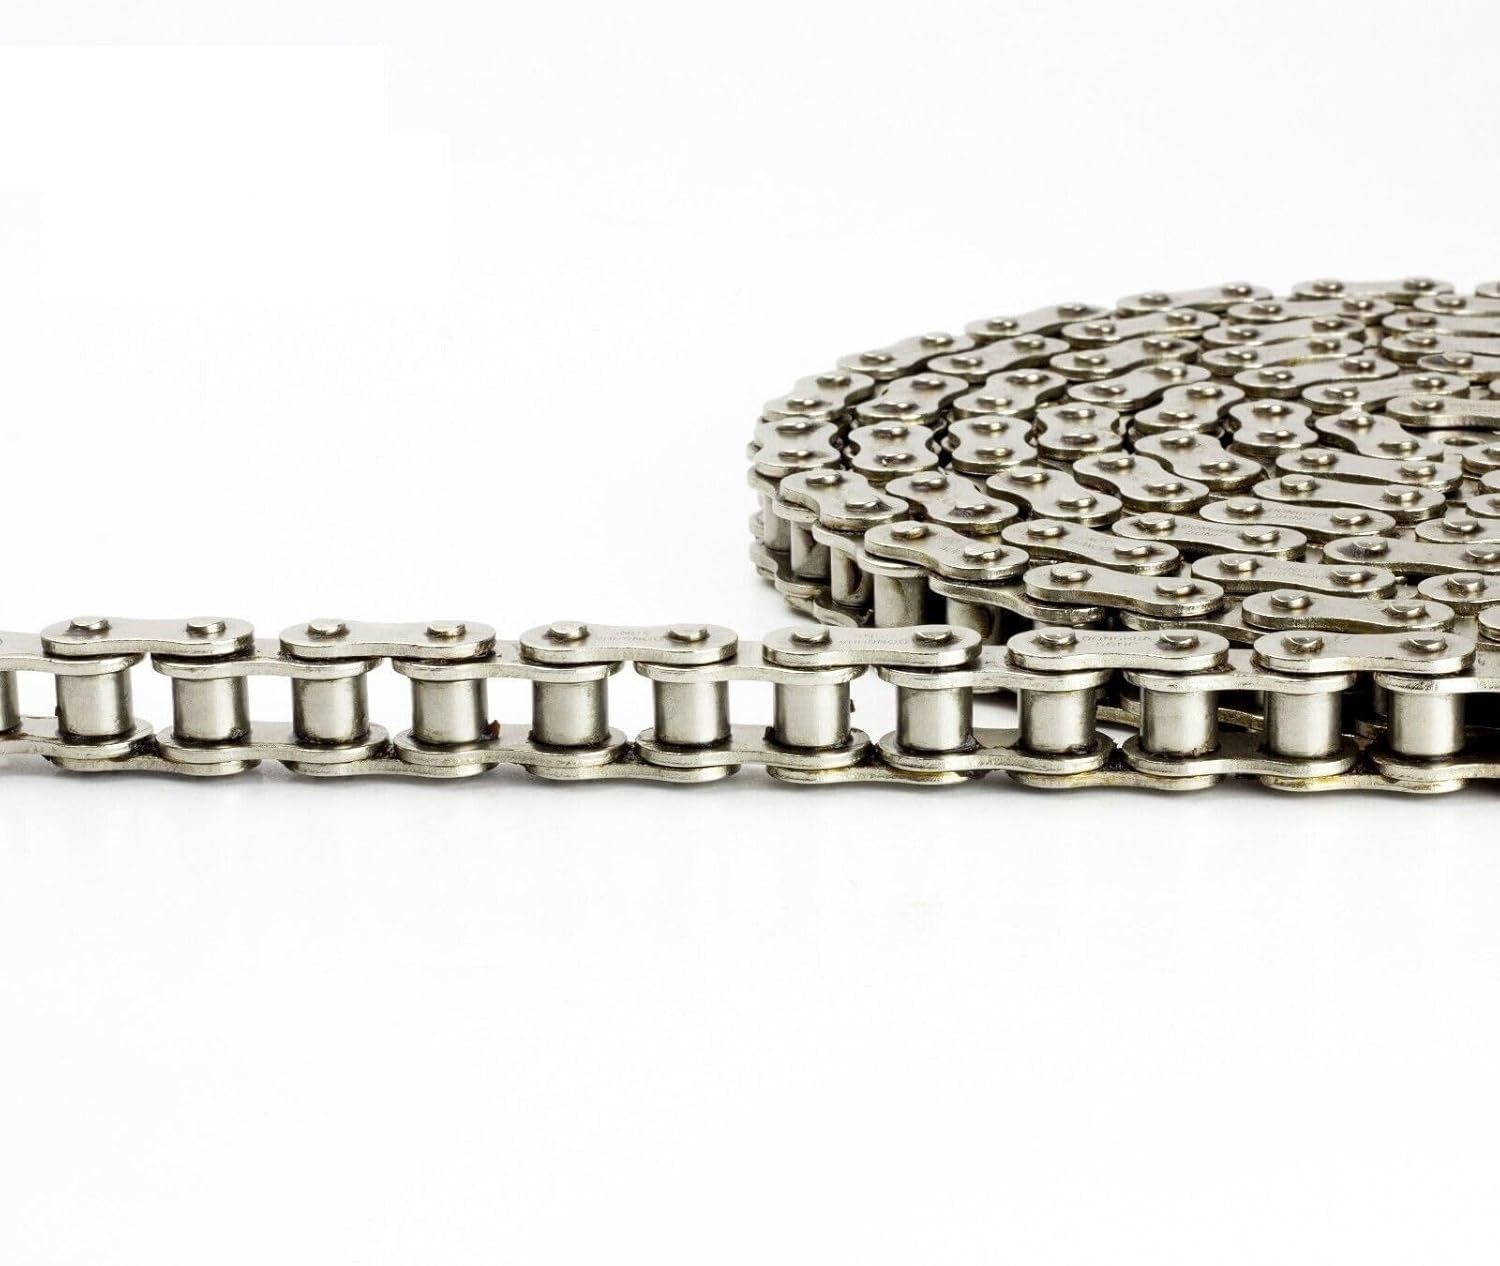
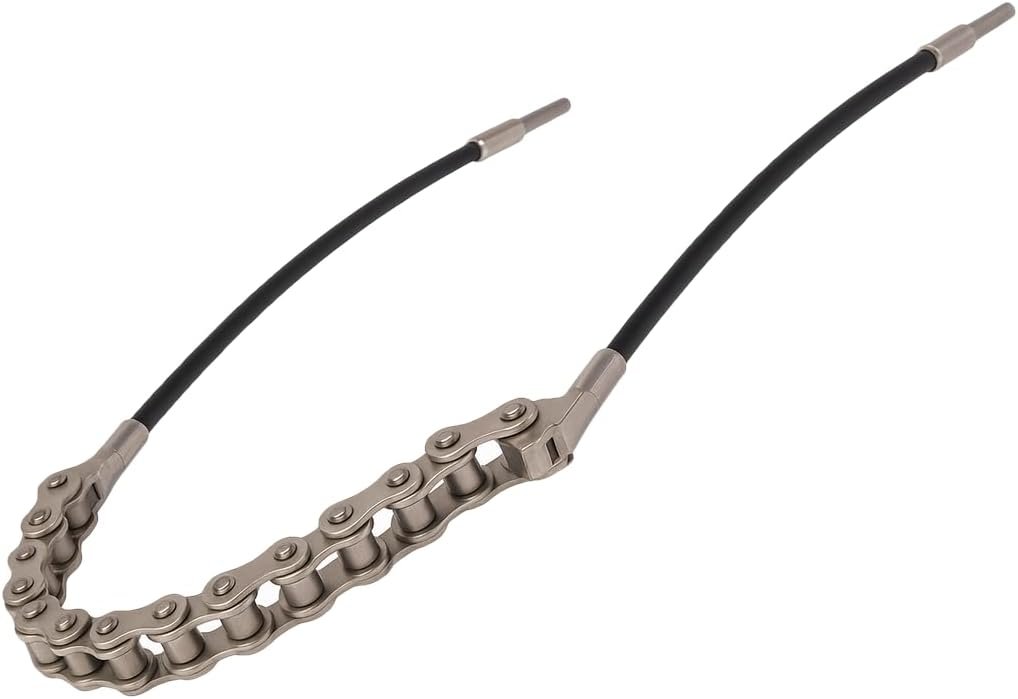
The Replacement Chain (The Chosen One!):
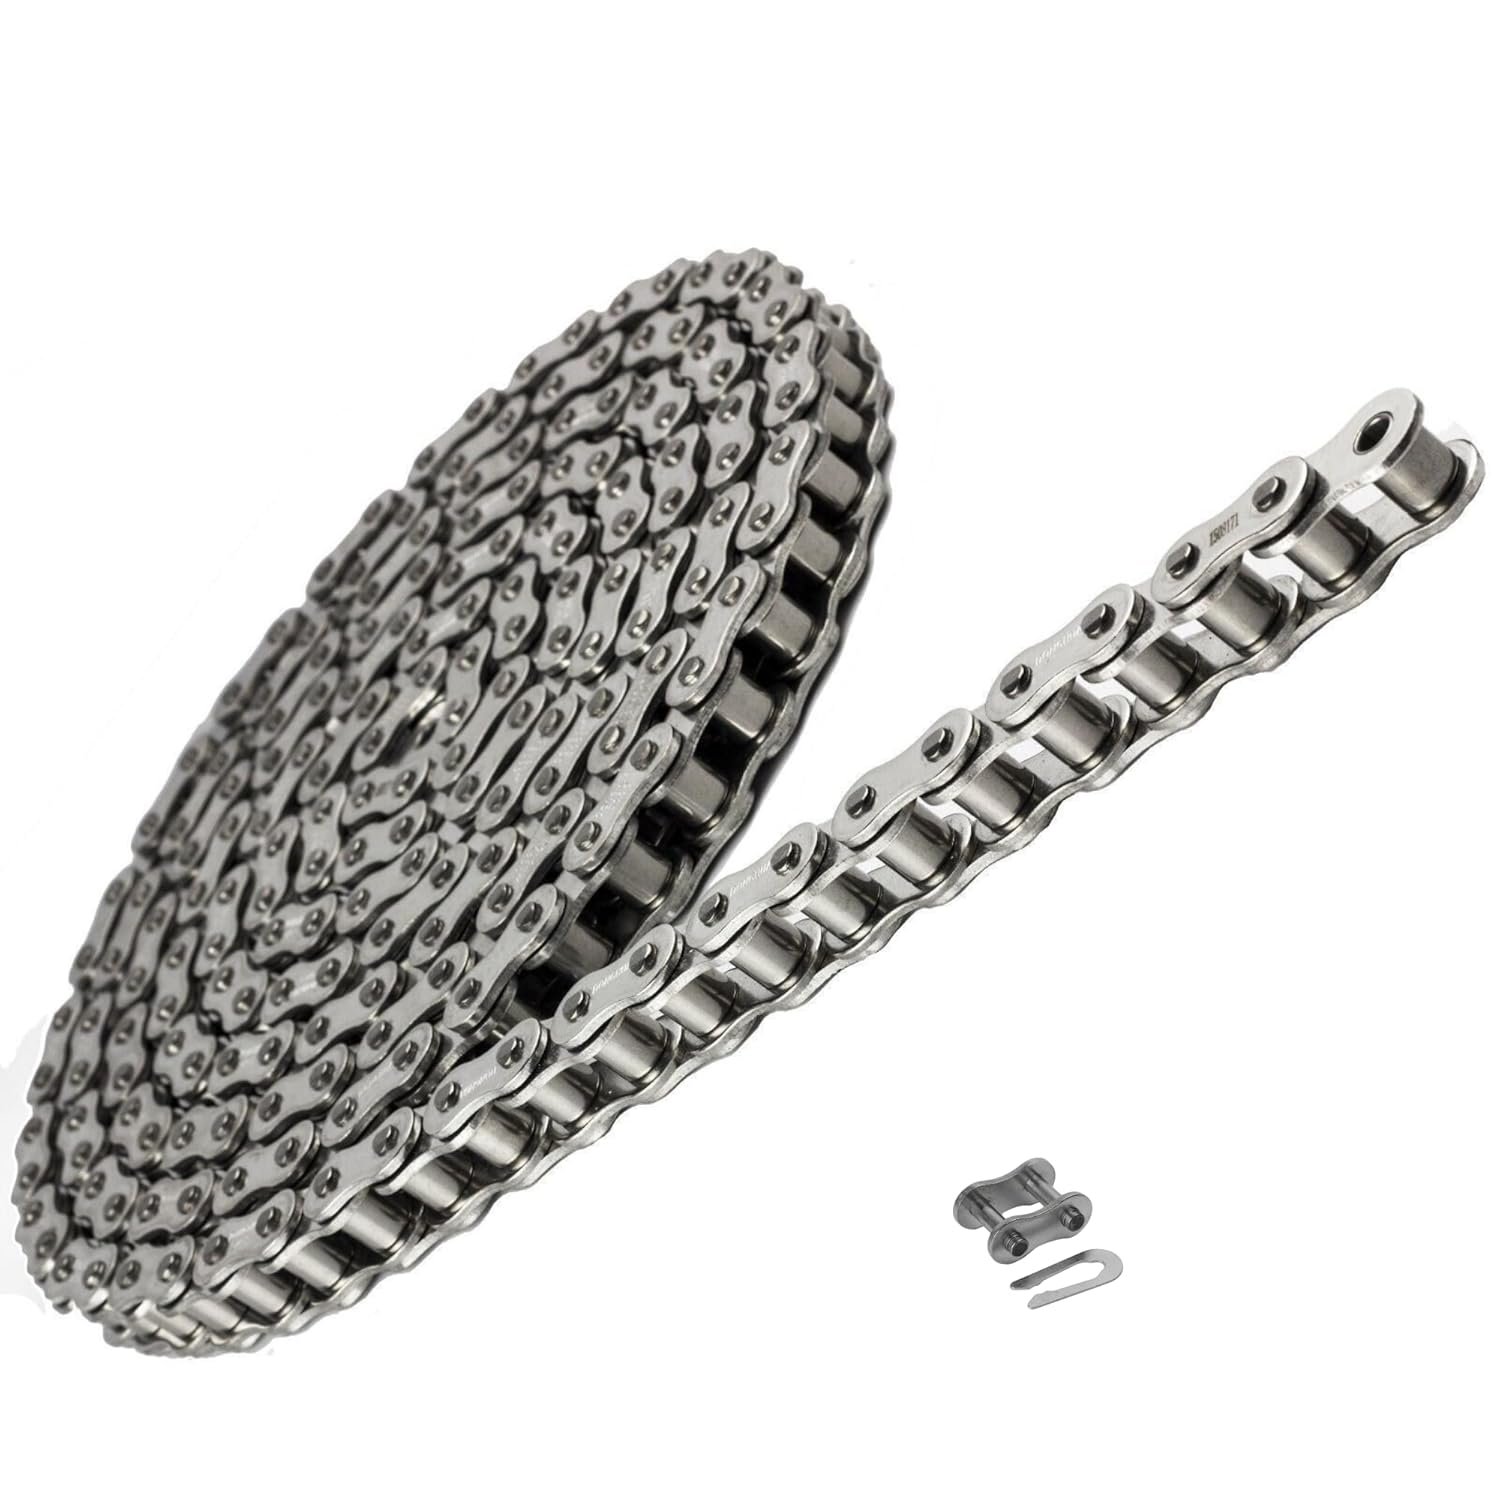
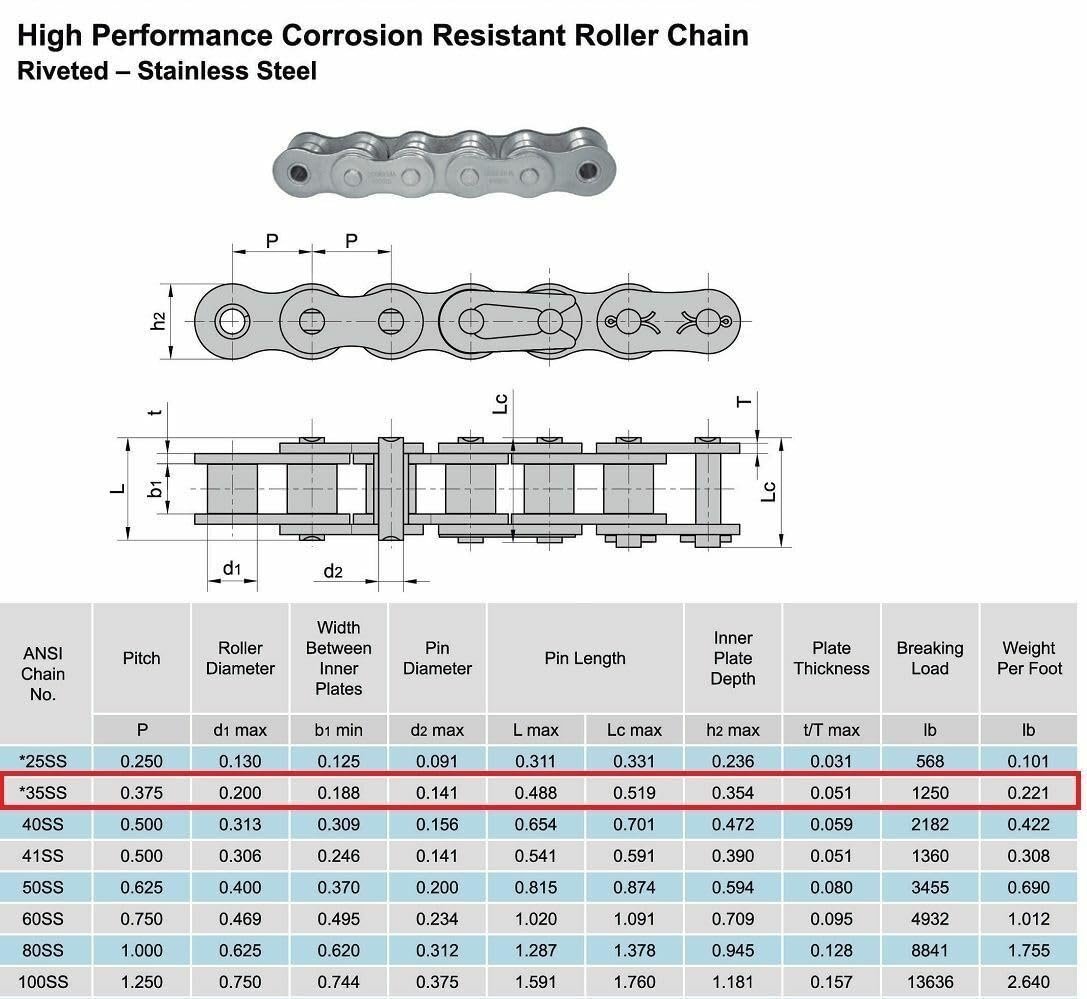
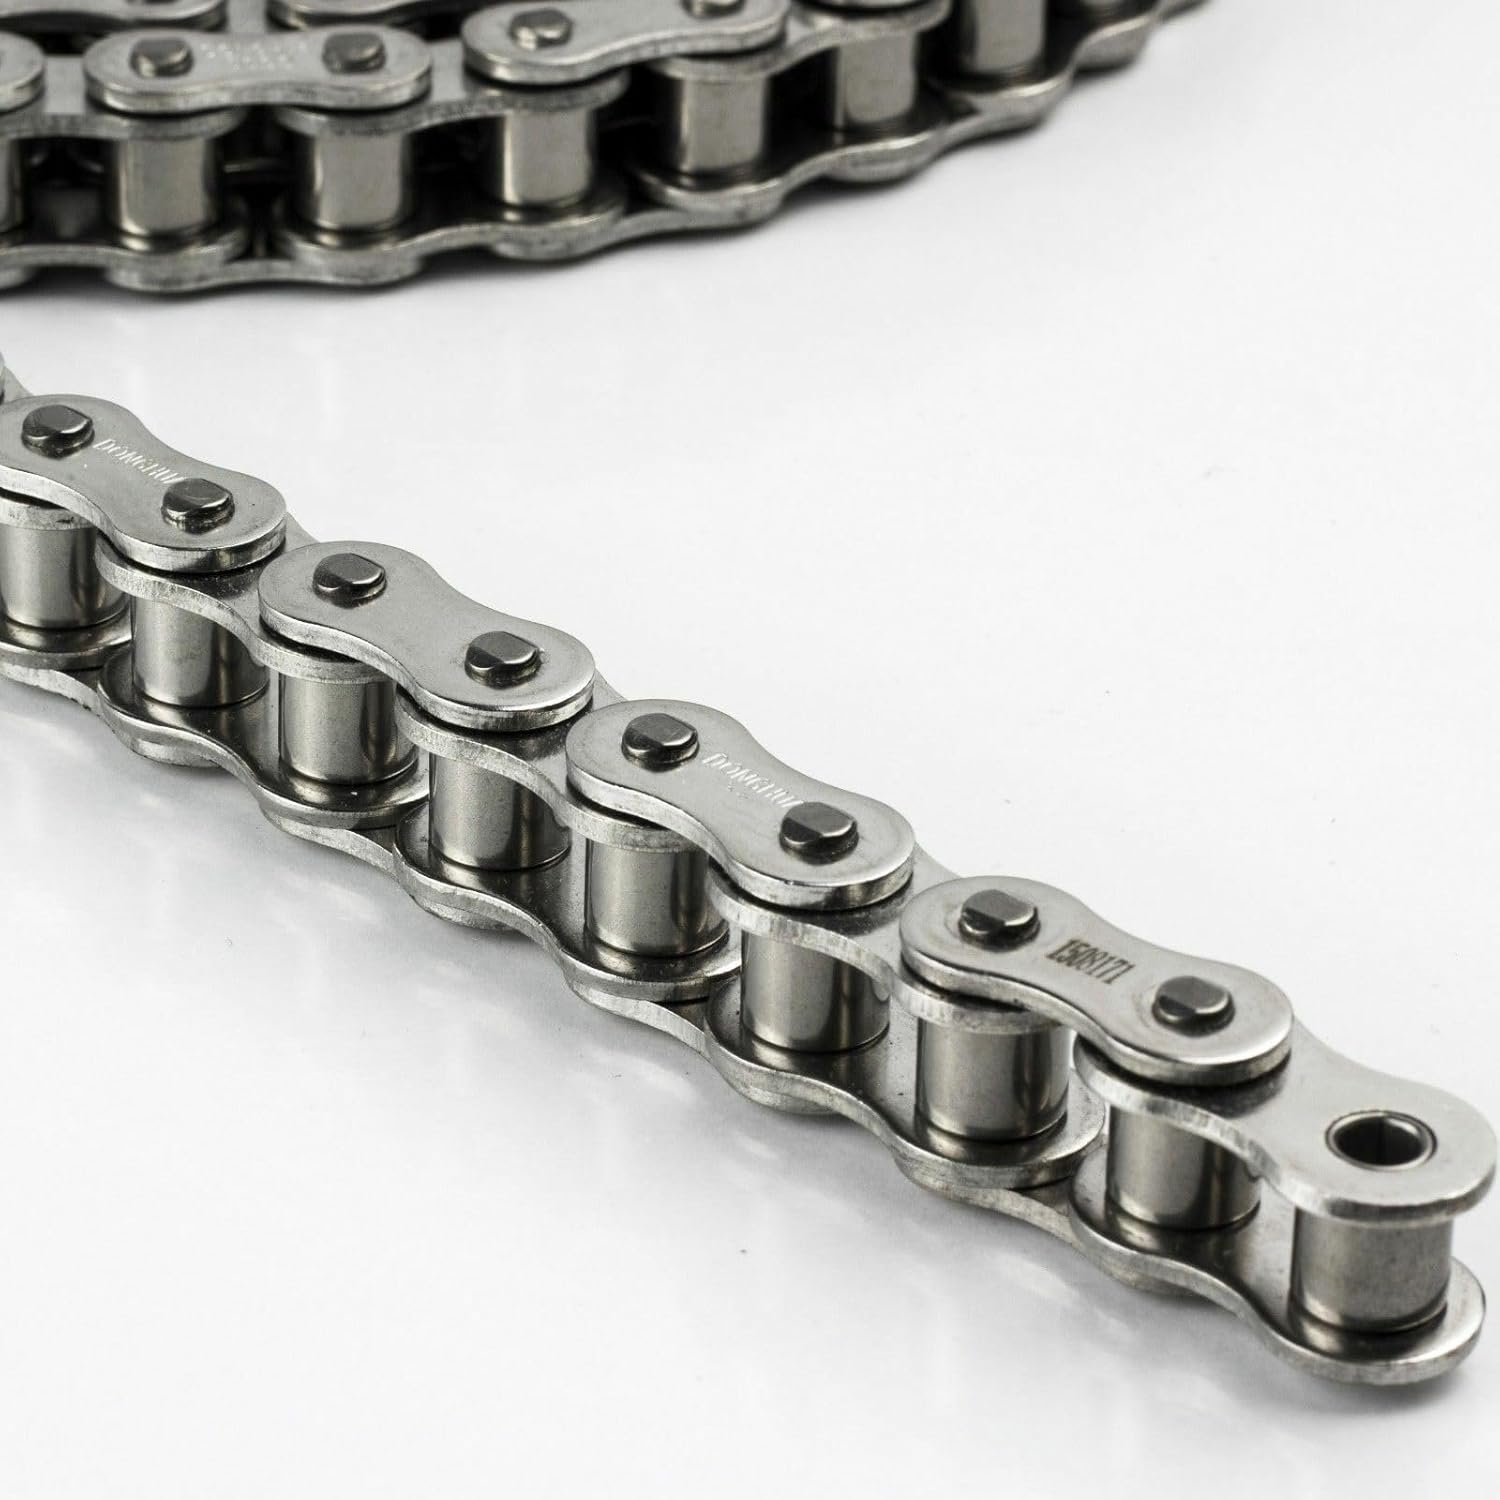
I purchased a high-quality NSI #35 SS Stainless Steel Roller Chain. Here are the exact details I looked for and why this was the perfect choice:
Precision Cold-Formed Components: Bushings and rollers are cold-extruded for enhanced durability, while side plates undergo multiple cold-rolling processes for increased strength and wear resistance.The Replacement Chain:
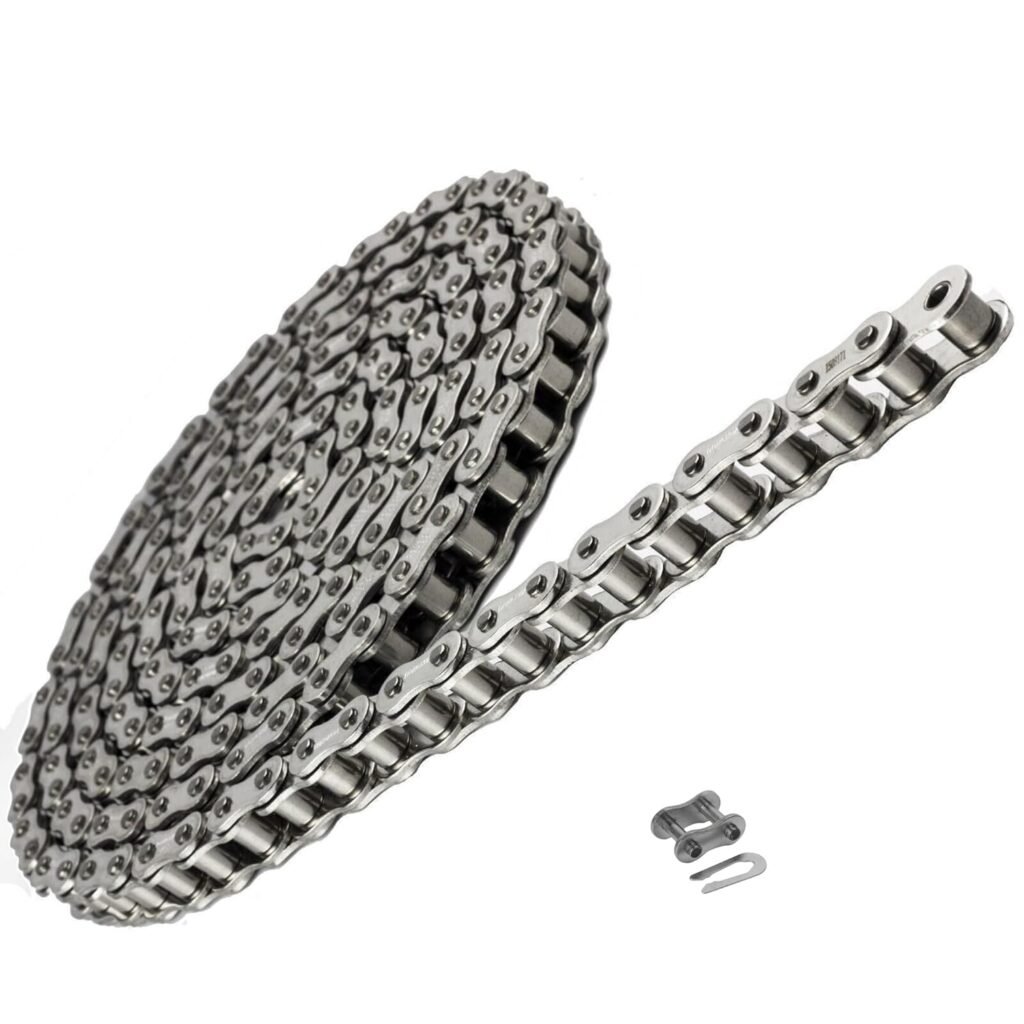
NSI #35 SS Stainless Steel Roller Chain 5 Feet + 1 Master Link
Corrosion Resistant: This is essential for marine applications.
Pitch Size: 0.375 Inch.
Length: 5 Feet (enough for the repair and some spare).
Average Tensile Strength: 1795 lb.
Weight Per Foot: 0.221 lbs.
Premium 304 Stainless Steel: Crafted from high-quality 304 stainless steel, these chains offer superior corrosion resistance, making them ideal for food processing, marine environments, pharmaceuticals, and high-humidity applications.
Reliable in Extreme Temperatures: Engineered to perform in both low and high-temperature environments, this stainless steel chain maintains strength and durability in freezing conditions and high-heat operations.
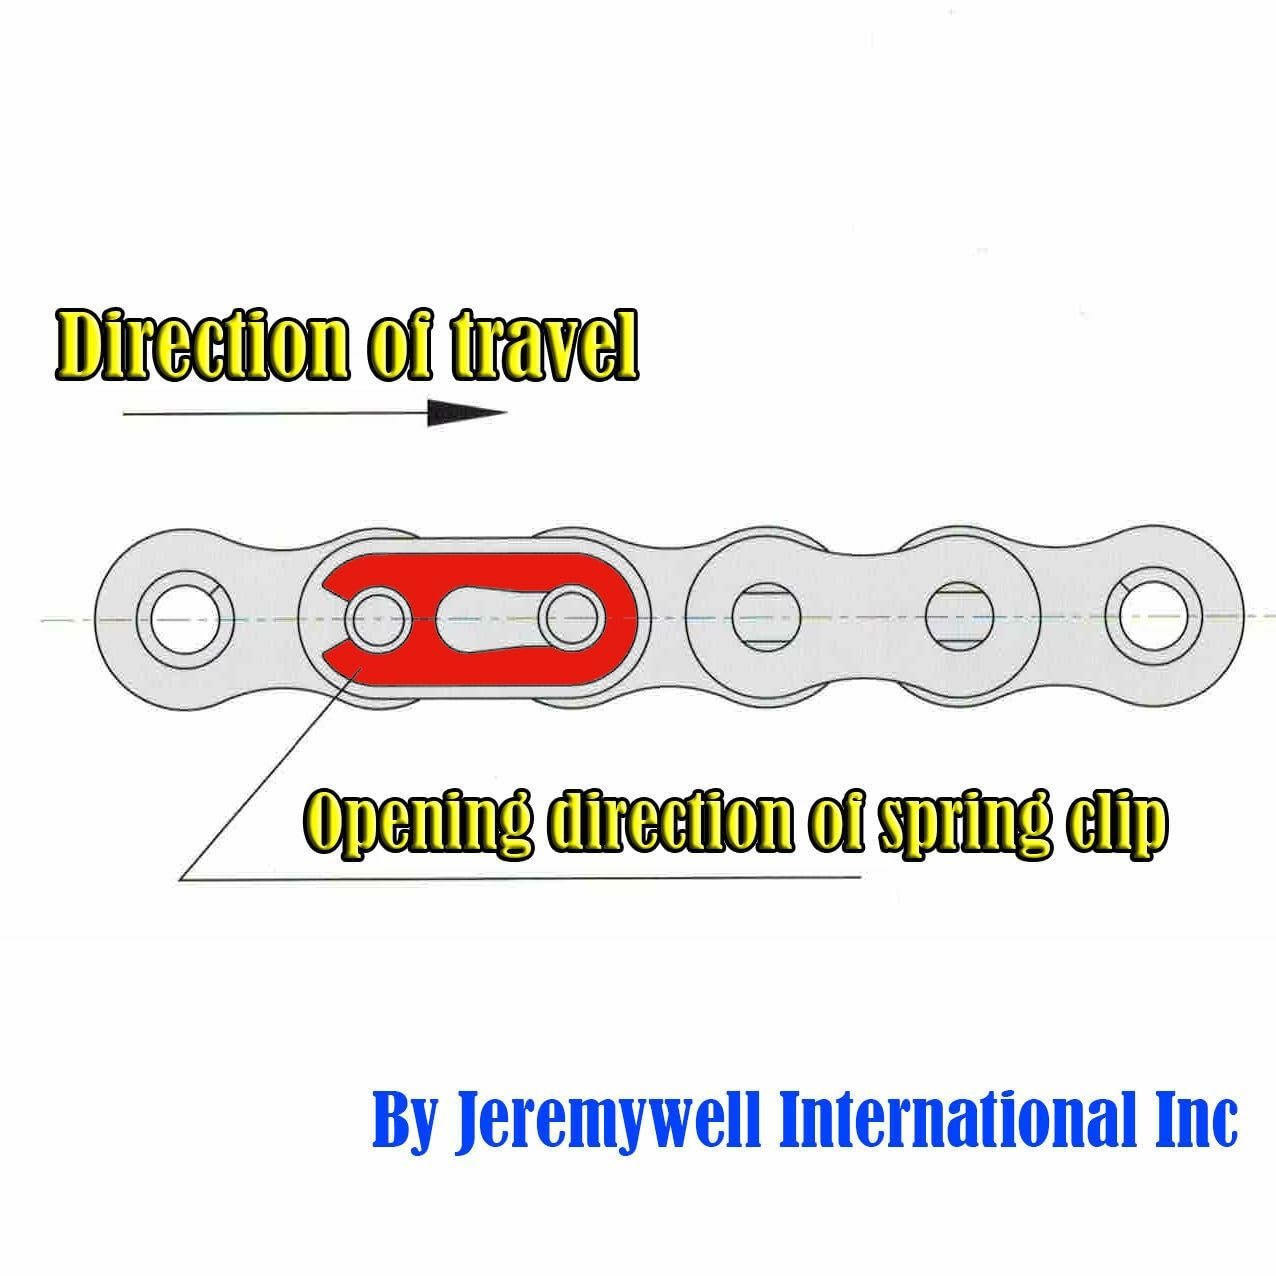
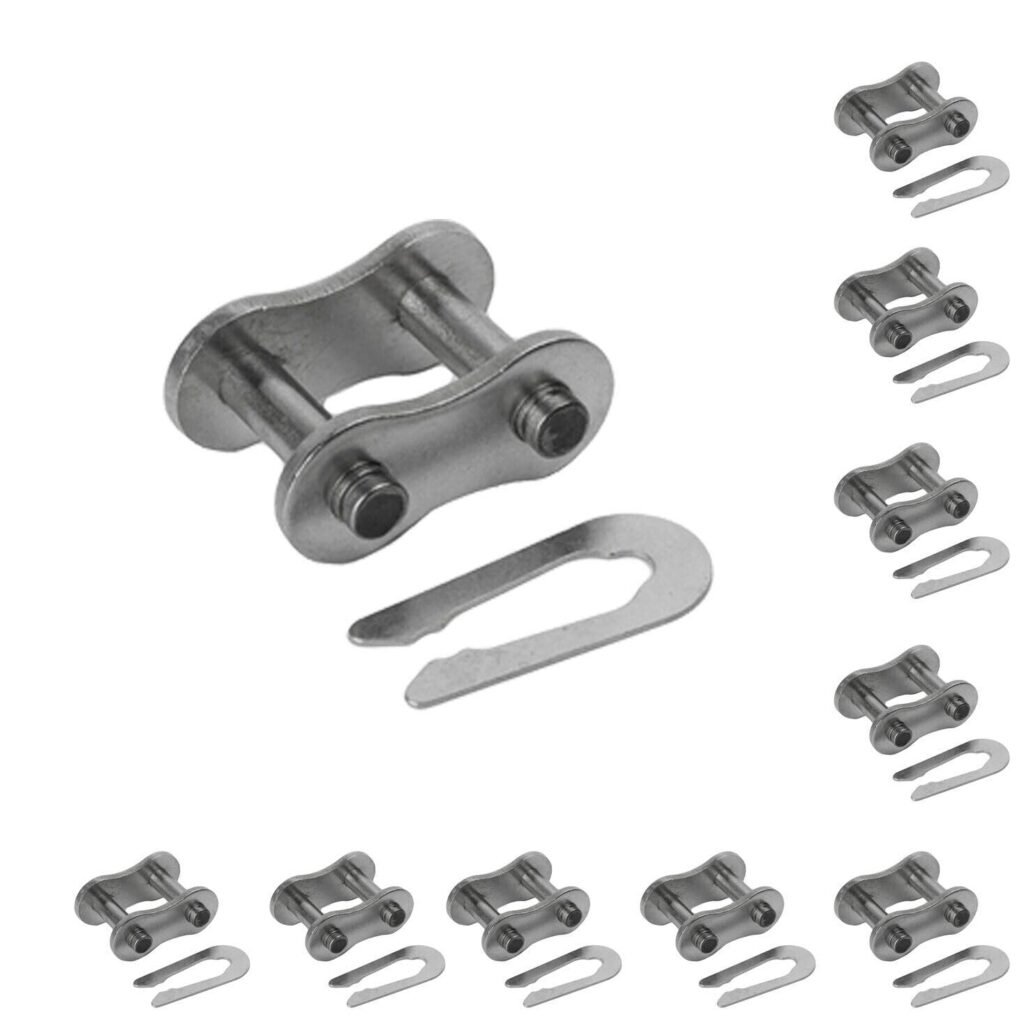
The Connecting Links: These small but vital components are what join the chain links and the chain to the pedal system. I made sure to buy Connecting Links (also stainless steel) compatible with the #35 chain.
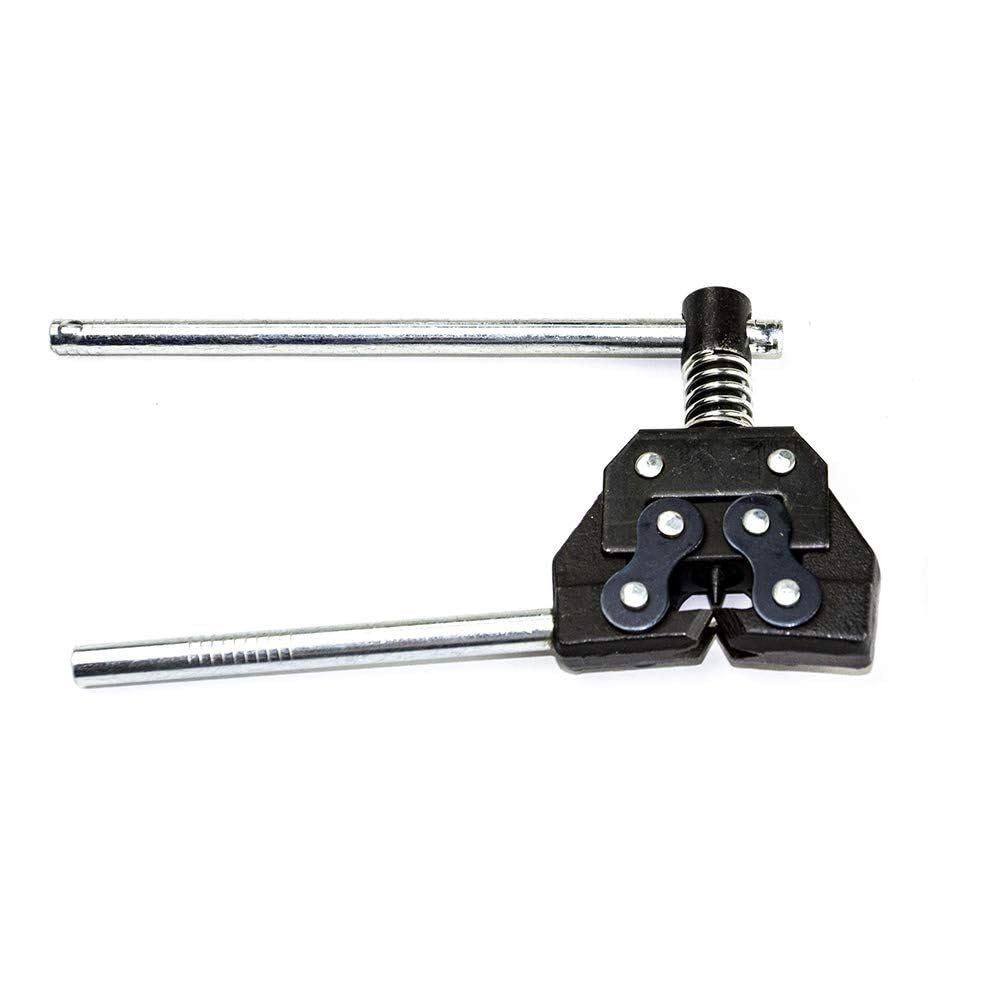
The Chain Breaker Tool: This was the key piece. A tool designed to separate and join chain links precisely and securely.
The Repair Process: Let’s Get to Work!
With all the parts on the table, the process was surprisingly quick and satisfying.
- Disassemble: With the help of a YouTube tutorial (always useful), I disassembled the broken part of my MirageDrive V2.
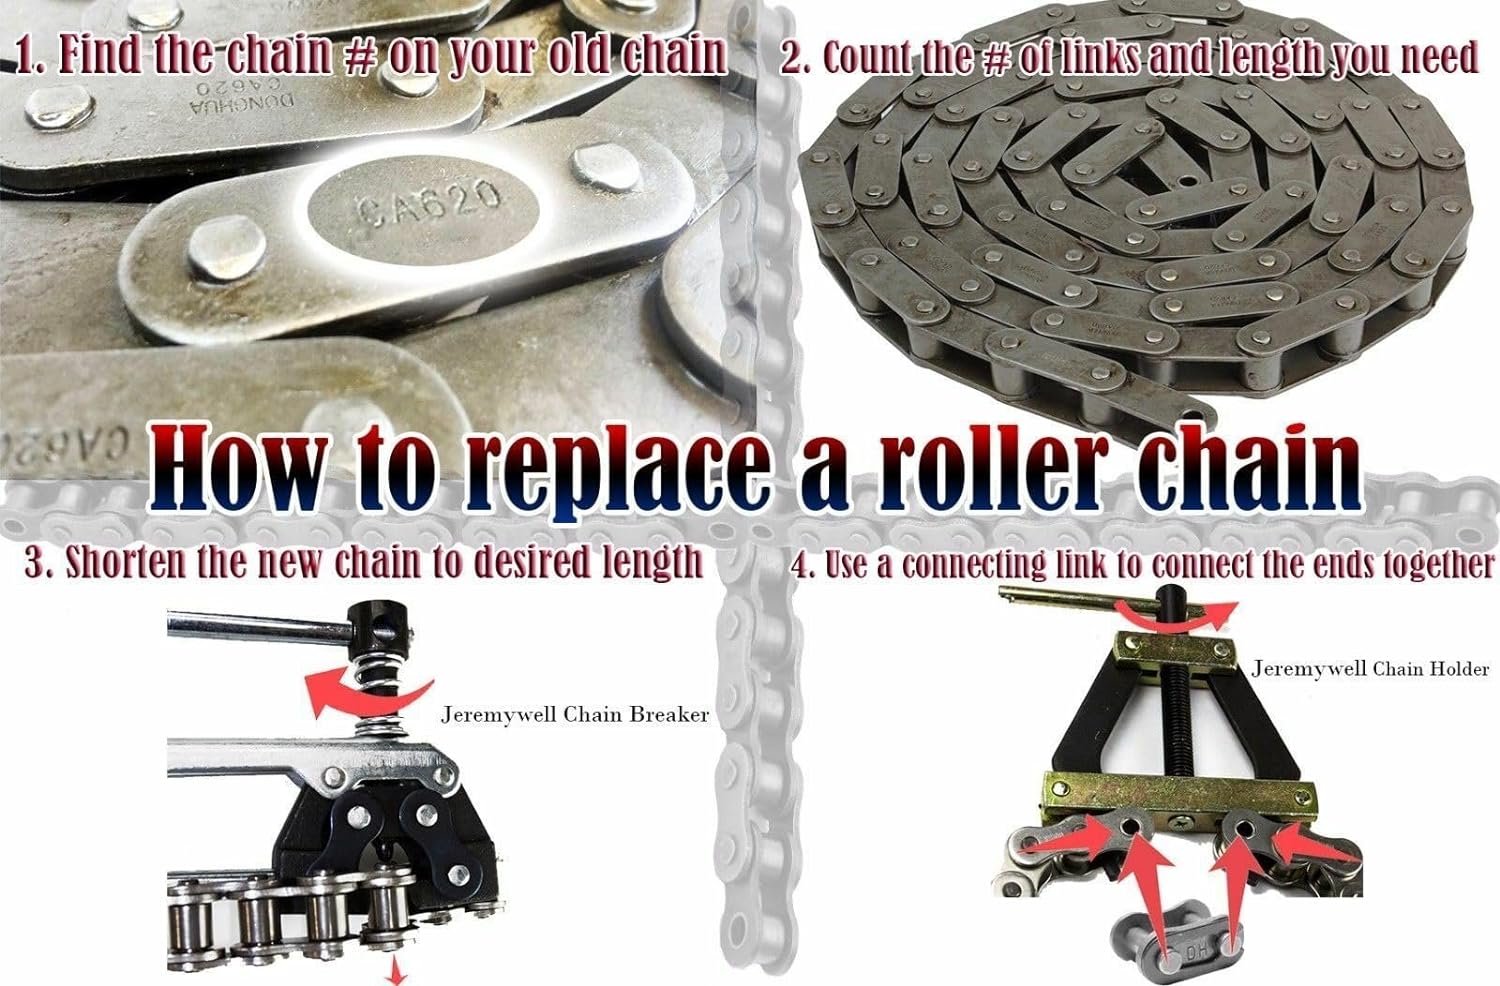
- Break the Broken Chain: I used my new chain breaker tool to take apart the damaged chain.
- Cut the New Chain: I measured the length of the original chain and cut the new #35SS precision chain to the exact same length using the tool.
- Join the New Chain: I joined the ends of the new chain with one of the master links, making sure it was securely fastened.
- Reinstall: I reinstalled the repaired chain on my MirageDrive V2, securing it in place.
Need a Visual Guide? Check Out This Reference Video!
I know that sometimes a picture is worth a thousand words, and a video is worth even more! If you feel more comfortable seeing the repair process in action before you start, we recommend searching for tutorials on YouTube. While each MirageDrive might vary slightly, the basic principles of how to use the chain breaker tool and secure the links are the same. Here’s a link to a reference video that will give you a clear idea of the steps involved.
The result was a robust and reliable chain, ready to get back on the water.
This experience taught me a valuable lesson: the best way to be prepared for any eventuality on the water is to be self-sufficient.
If you own a Hobie kayak with a MirageDrive V2 and the original replacement part is hard to find in your region, don’t get discouraged. You can create your own emergency repair kit by buying the parts and the tool separately. It’s more economical, gives you total control over the quality of the materials, and most importantly, ensures you’ll never be stranded by a broken chain.
The first step in fixing hobie mirage drive v2 chain is to assess the damage and gather the necessary materials for the repair.
Now, it’s time to paddle (or rather, pedal) with the peace of mind of knowing you’re ready for any challenge!
After disassembling the components, you can begin fixing hobie mirage drive v2 chain efficiently and effectively.
With everything reassembled, you’ll be proud of fixing hobie mirage drive v2 chain and getting back on the water.
Remember, fixing hobie mirage drive v2 chain can save you time and money in the long run.
Ultimately, fixing hobie mirage drive v2 chain empowers you to enjoy your kayaking experience without interruptions.